We all love the dollar store, am I right?
They have the cutest socks, especially at holiday times! So you pick up a pair or two, and then wind up wearing them once, putting a hole through the toe (because, let’s face it, you get what you pay for!), and tossing them out to the garage for your hubby to use as shop rags.
But you know you secretly feel bad inside doing that. Because they’re just so darn cute.
Since my oldest daughter started ballet classes when she was 3, she has been obsessed with legwarmers! I don’t know if it’s all the pictures she’s seen of her mommy (the 80’s child), or if it’s something she picked up all on her own. Either way, legwarmers can get expensive!!!
Not anymore.
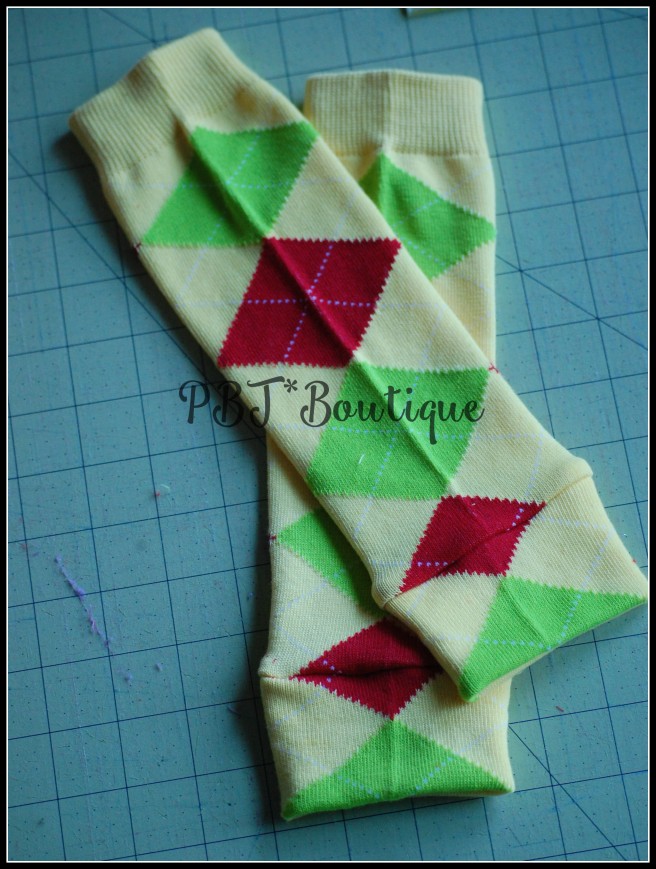
I’m going to show you how to take a pair of dollar store women’s knee socks and turn them into cute legwarmers for your little dancer, crawler, potty-training toddler, or even for yourself!

Here’s what you’ll need:
- one pair of women’s knee socks
- rotary cutter, ruler, & mat or a sharp pair of scissors (but once you go to the rotary cutter, you’ll never look back, I promise!)
- sewing machine or serger
- thread
**Please note: in the photos below, I will be using a rotary cutter and a serger. The process is the same if you are using scissors or a regular sewing machine. If you are using a sewing machine, use a wide zigzag stitch instead of a straight stitch!**
Step 1: Lay your socks out on a flat surface and stack them on top of each other, lining the top (open) edges up and the side edges up.
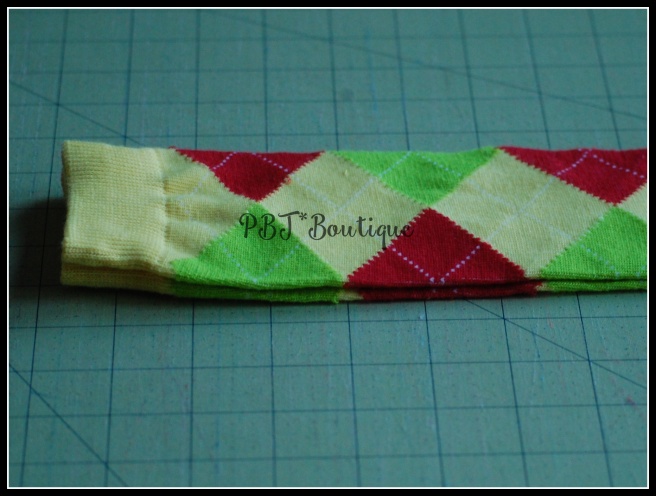
Step 2: Find the ‘ankle’ of the socks, and lay your ruler across the socks (make sure that it’s lined up with the sides!).
Step 3: Cut across the ankle, removing the ‘foot’ part of the sock from the ‘leg’ part. Set the ‘leg’ pieces aside.

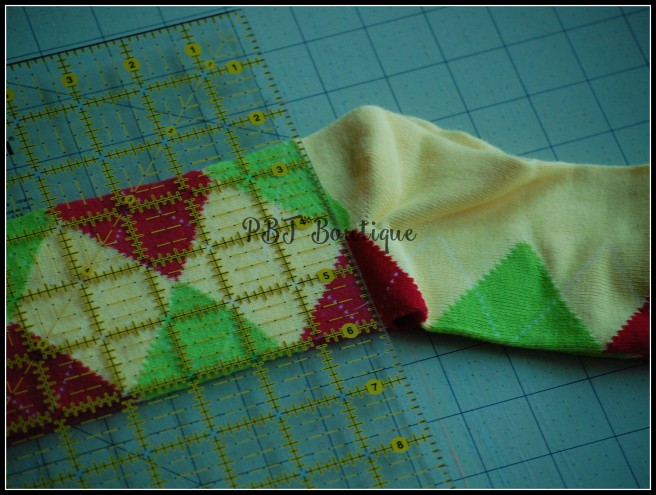
Step 4: Find the ‘heel’ of the sock, and line your ruler up just on the inside of it.

Step 5: Cut across the foot, removing the ‘heel’ part from the ‘foot’. Dispose of the ‘heel’.

Step 6: Find the ‘toe’ part of the sock, and line your ruler up just before it.

***NOTE: Here it is important to make sure that you are cutting exactly parallel to the last cut you made!!!***

Step 7: Cut across the ‘toe’, removing it from the ‘foot’, and dispose of the ‘toe’ portion.

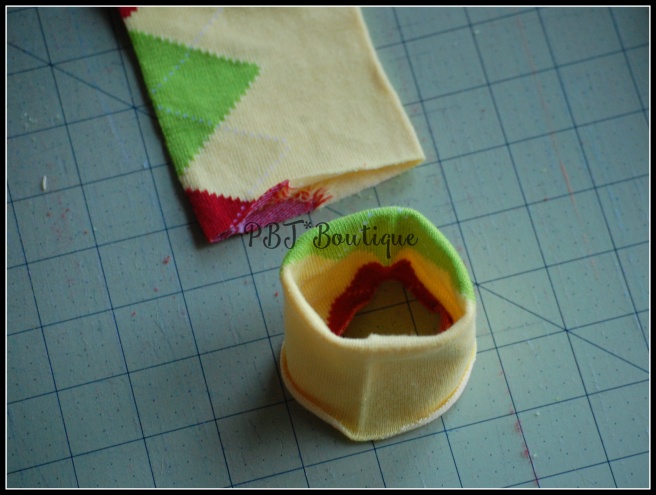
Step 8: Take what’s left of the ‘foot’ portion of the sock (it’s now just a tube that you’ve cut at each end), and turn it partially inside-out, WRONG sides together.

***NOTE: Here is a closeup of what you want to wind up- both cut/open ends of the ‘tube’ are lined up with and touching each other, and the other end is now a neat fold.***
Step 9: If you are as picky as I am, line up your sock ‘leg’ so that the pattern matches up with the ‘foot’ piece.

Step 10: Turn your folded ‘foot’ piece upside down so that all cut edges (both cut edges on the ‘foot’ AND the cut edge on the ‘leg’) are all facing the same direction.

Step 11: Insert the ‘leg’ piece INSIDE of the ‘foot’ piece, until all three cut edges are touching each other.


***NOTE: At this point, if you wish to, you can pin all the way around so nothing moves or wiggles on you. I usually just carry it this way over to the machine and sew without pins.***
Step 12: Placing the presser foot of your serger or sewing machine on the INSIDE of the ‘LEG’ portion of the sock (so that the folded ‘foot’ piece is touching the machine and the ‘leg’ is touching the presser foot), sew or serge all the way around.
Go slowly! If you didn’t pin, use your fingers to make sure all three cut sock edges stay lined up with each other. If you did pin, make sure you pull each pin out before you sew over it!!

This is what it will look like at this point.
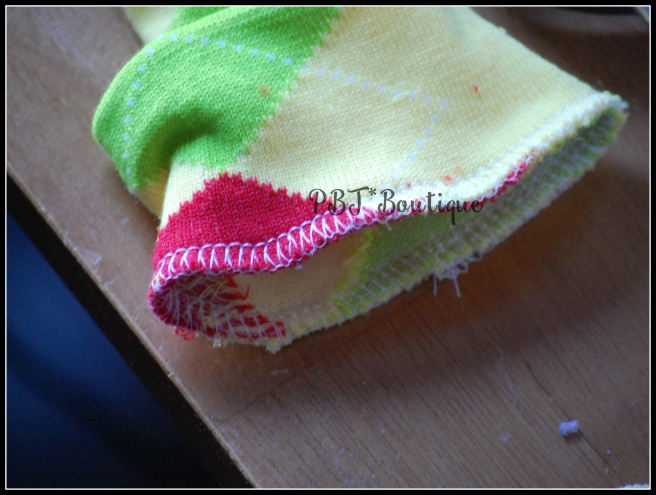
Step 13: Turn it right side out and admire your cleverness!

Now you can repeat steps 8 through 13 with the other sock pieces, and you will end up with an adorable, cheap, and EASY pair of legwarmers!
Go put them on your favorite kiddo! And watch her dance on the coffee table!!!
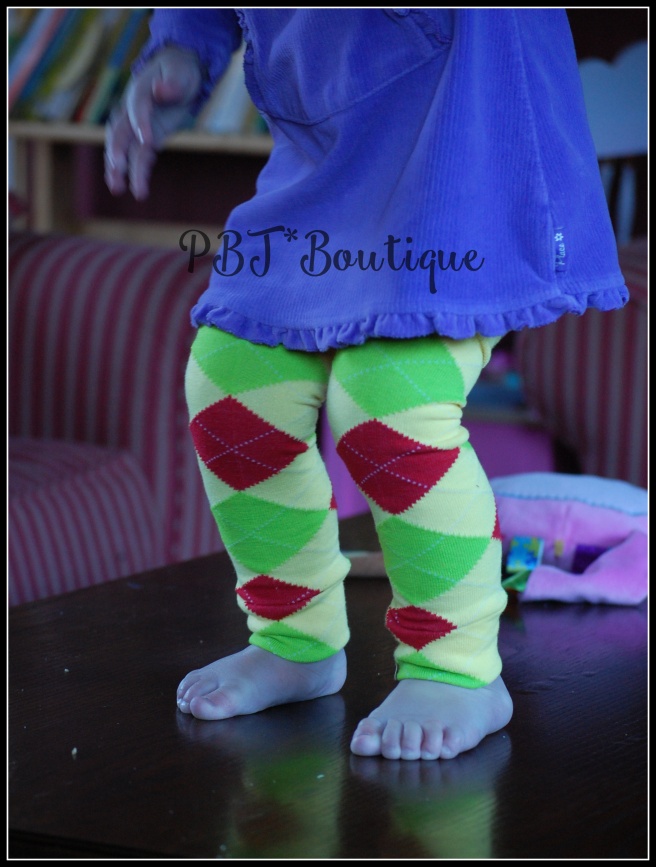
These legwarmers are not only great for dance classes! We use them while potty training in place of pants to keep legs warm without adding another obstacle to deal with in an emergency peepee situation. They are also great for crawlers! They help to keep chubby little knees clean while crawling around, and also protect from rug burn!
I hope you enjoyed the first tutorial of 2016!
Feel free to comment with pictures of legwarmers you’ve made from my tutorial!
My resolution this year is to post at least one tutorial per month on the blog, so check back often or follow me so you’ll see them all!
Thanks so much, from me and Miss G!